Feeling the need to make your house look new in a second? In some cases, a small amount of texture is all you need. You want to conceal flaws, bring out a visual detail, or you simply want to experiment with a new Do-It-Yourself project, learning to texture your walls and ceilings can add some personality and character to any room. And even if you are a novice in home improvement, not to worry because this beginner will tell you all you need to know about the art of wall and ceiling texturizing in easy and friendly steps.
Understanding Wall and Ceiling Texturing
What is Texturizing?
Texturizing involves the use of raised designs or patterns on walls and ceilings, through a number of methods and materials. It is a decorative finish that can be either discreet or dramatic according to your taste.
Why Texture?
- Cover flaws: Perfect to mask cracks, dents, or uneven surfaces.
- Provides character: Makes the rooms more interesting to look at than flat surfaces.
- Sound dampening: There are some textures that can absorb sound and eliminate echoes.
Best Surfaces for Texturing
Texturizing is most effective when the drywall or plaster is dry, clean and free of oils, dust and significant imperfections. Nevertheless, old, uneven walls can also be refreshed with good prep.
Essential Tools and Materials You’ll Need
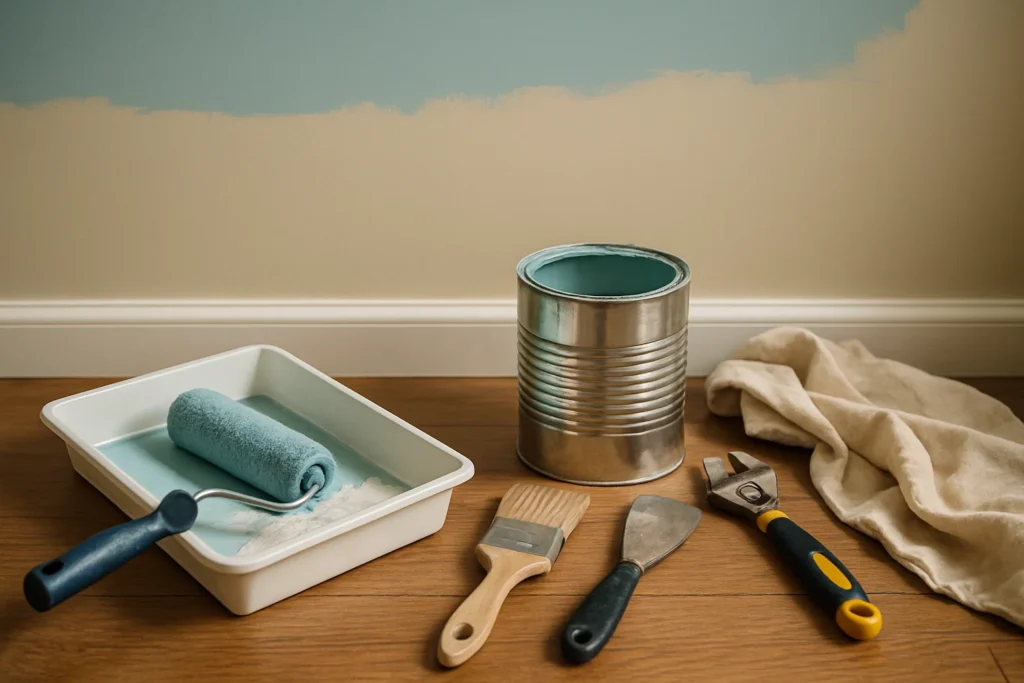
Before getting into it, you will need the following materials. Depending on the technique, the tools you require may be different, but these are the essentials:
- Joint compound: The most glamorous element of most texturizing projects.
- Paint roller, brush, or sprayer: To use with compound or texture paint.
- Trowel or drywall knife: To spread and shape patterns.
- Knockdown knife: A flexible blade with a large area used to achieve certain effects.
- Mixing bucket and drill with a paddle attachment: To combine materials in a smooth manner.
- Personal protection: Safety glasses, mask, gloves and drop cloths (texturing is a messy job.
- Sandpaper and sponges: To smooth rough patches and to do touch-ups.
- Painter tape and plastic: To cover ceilings, floors, and fixtures.
Pro Tip: Never disregard the instructions on any commercial texture product you are using, it will provide you details as to the optimum tools and conditions.
Popular Texturizing Techniques for Beginners

Four simple classic styles are here for your guidance:
1. Knockdown Texture
A rough rustic finish youngsters with flattened peaks–stucco but not so hard.
It conceals warts quite satisfactorily and anyone with just a bit of skill can master it, although it is a ragged style.
How to Apply:
- Spray your surface or roll joint compound onto it.
- Allow it to settle (do not let it dry) 10-15 mins.
- Employ a knockdown knife and lightly scrape across the peaks and you will be said to be knocking them down, and flatten but not eliminate them.
2. Popcorn Texture
Rough, cottage cheese-like texture; traditional style during the mid-twentieth century houses.
- Prepare special popcorn ceiling mixture as shown in the instructions mixing water with it.
- Apply with a hopper gun or with a special roller.
- Do not touch until dry, or paint over.
Asbestos Warning: Old popcorn ceilings in houses built before 1980 should be tested before being removed or covered.
3. Orange Peel Texture
Dimpled appearance, low key; surface looks like orange skin on the outside. It is accommodating and can be used anywhere.
How to Apply:
- Worrying paint to a soupy level.
- Apply with texture sprayer, or by specialty roller.
- Set and dry.
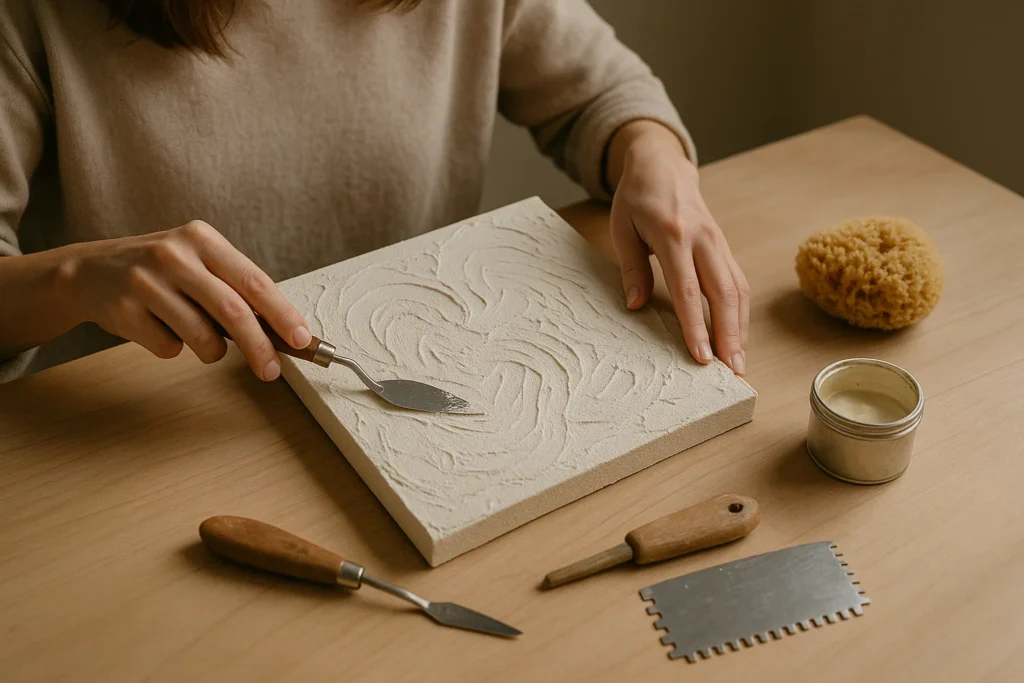
4. Skip Trowel
Mediterranean, a little swirled or broken-looking texture. It appears that it is natural, wiggle around randomly- do not think about your layout
How to Apply:
- Apply joint compound with a curved trowel in thin arched strokes.
- Put in high and low roughnesses by running the trowel over the surface in a random way.
Step-by-Step Guide: Applying Knockdown Texture
This is a tutorial of the popular knockdown technique.
Step 1: Prep Your Room
- Furniture: move, cover; guards floors using drop cloths.
- Before you get going, cover trim, light fixtures and outlets with tape.
- Clean walls/ceilings – get rid of dust, snap holes, and repair large problems.
Step 2: Mix Your Compound
- Fill up a bucket of water and joint compound until it becomes the texture of pancake batter.
- A drill and paddle will be used to blend it smoothly without lumps.
Step 3: Apply the Texture
- Roll textured paint, or load texture into a sprayer.
- Do sections at a time to get even coverage. Spray lightly so as not to create lumpy clots.
Step 4: Knock It Down
- Wait 10-15 minutes (do not allow surface to be wet and wait till it is dull).
- With your knockdown knife/trowel pass over the space with light sweeps. But not to a crush,–merely to level off the peaks.
Step 5: Let It Dry
- After drying 24 hours, very lightly sand the rough areas.
Step 6: Paint (Optional)
- When dry and free of dust, paint your new texture. A thick roller is sure, textured surfaces take more paint than the plain walls.
Visualize Each Step: Take pictures along the way Take pictures as you go, to look back later on or to write about your experience!
Painting & Maintenance Tips for Best Results & Common Mistakes to Avoid

Tips
- Test first: Practice on a piece of drywall or old cardboard before commencing: Get a scrap piece of drywall or old cardboard and practice your technique on it.
- Clean tools: Compound left to dry will form unsightly lumps.
- Work rapidly: Compound dries quickly; do not allow some area to dry, whilst work is going on.
- Even pressure: Knocking down or swirling should be done using even, light pressure.
- Light coats: A number of light coats are preferable to a single heavy one.
Avoid These Common Mistakes:
- Applying compound which is too thick or too thin-read the package directions.
- Working the texture too much into it can peel off.
- Texture, paint, in a tearing hurry; and when it is set leave the surface to dry over.
- Forgetting ventilation; use fans and windows to allow drying to accelerate and air to remain clear.
How to Maintain Textured Surfaces:
- Use a soft brush and brush clean or vacuum with a brush attachment on a regular basis.
- In case of spots, damp sponge and light detergent are applied. Do not scrub since texture can be lost.
- Chips or dings can be covered with some of the remaining joint compound.
- The best coverage is achieved using a good quality and thick-nap roller.
- The first advantage of priming is that it saves the top coats.
- When it comes to deep textures, the paint sprayer can be used so that the surface is covered evenly.
- Apply paint one section at a time, in a back and forth motion so that lap marks do not occur.
Final Thoughts
Texturizing of walls and ceilings is an easy and yet effective method of changing the interior of your home. It is possible to get beautiful, and professional-looking results, adding character and covering imperfections with the right tools, techniques, and a little bit of patience, even when you are a beginner. Attempting knockdown or orange peel or any other texture, there is no shortcut to getting it right, so get ready to prep and practice. Are you all set to put your ceilings and walls to a new level? Neimann Painting can make your vision a reality through texturizing and fine finishes.Contact to Neimann Painting to discuss your project and enhance your place with a professional touch.
FAQs
Absolutely! When surfaces are painted, which is done well enough, and clean enough, you can carry the texture over. Ensure that grease and dust has been removed, made good holes and cracks, and sanded lightly if it is a shiny finish, so the new texture can be applied. Texturizing should be done after priming the surface, which can enhance bonding, too.
Think about the appearance that you desire, the level of skills and utility. Orange peel or knock down are the perfect introductory textures in subtle and contemporary areas. Popcorn texture will also conceal all significant flaws and absorb sound but is less trendy. Skip trowel is trendy and artisanal in style. To find out what suits your taste and abilities, test on small area first.

