
Drywall installation can seem like an easy task, but it is time-consuming task. Homeowners attempt to find a solution to it themselves, and after working on it, they cannot find any seams, cracks, or bulges after completing the task. The fact is that even minor errors made in the course of installation may impact the appearance of your walls and their durability.
When you intend to install drywall in your house, it is equally important to know the mistakes not to make, along with the correct steps. This guide will take you through the most frequent drywall installation errors, their avoidance, and the best practices that can help you achieve smooth and professional results.
Why Avoiding Drywall Mistakes Matters
The interior of your walls and ceilings is covered mainly by drywall. In case it is done badly, it is difficult to ignore the flaws. The cracks, observed seams, or screw pops may penetrate through the paint or wallpaper leaving your walls looking incomplete.
Worse still, a bad installation may result in a long-term problem. To illustrate, drywall seam issues in new houses tend to occur due to work haste or oversights. Preventing the occurrence of drywall cracks during the construction process and eliminating typical DIY drywall mistakes are the most effective ways to make sure that your walls remain solid and appealing over the years.
What Are the Most Common Drywall Errors?
Some of the common mistakes by a painter are repeated when installing drywall- particularly among novices. Others are cosmetic, and others have an influence on the structure and the durability of the wall.
- Improper screw positioning – Screws are either too deep or too shallow and may lead to complications in the future.
- The incorrect line is completed with seam – Leaving the joint compound not done correctly results in bumps and cracks.
- Bad panel cuts – Sides that are not straight cause seams that are more difficult to conceal.
- Omitting backer boards leaves areas of large sections of drywall weak.
- Unprofessional sanding – Leaves scratches or has visible lines beneath the paint.
The awareness of what these errors appear like helps you prevent them and attain a more polished finish.
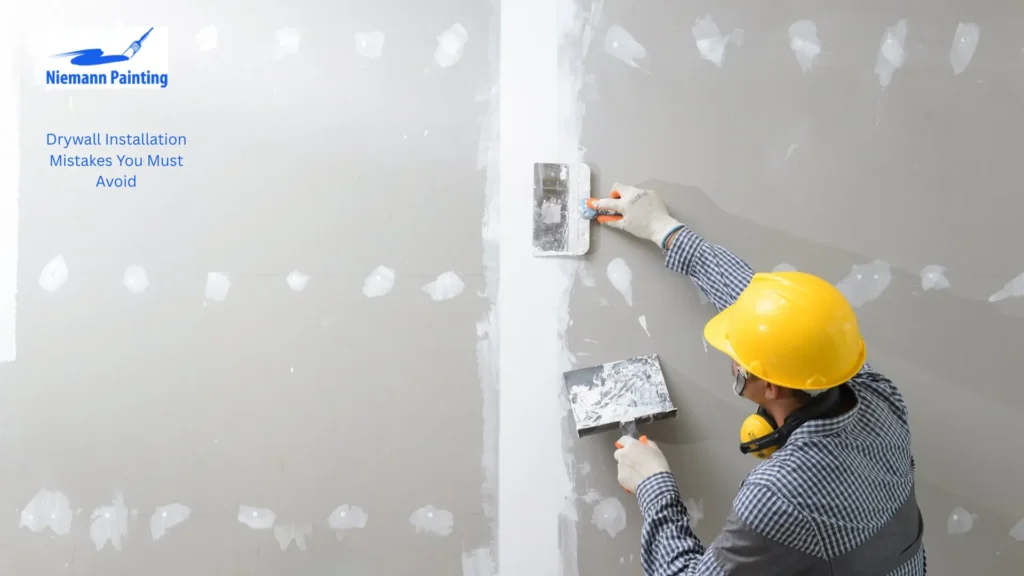
Drywall Installation Mistakes You Must Avoid
Although drywall appears flat and easy when completed, there are numerous steps in the process of its installation, and there are many things that can go wrong. We will now give an in-depth look into the most frequent errors that homeowners, as well as some of the contractor,s commit, why, and how to prevent these practices.
1. Using the Wrong Screws or Nails
The wrong type of fasteners is one of the most typical DIY mistakes that people make with drywall. There are bugle-headed screws and coarse-thread screws that are required in drywall. Loose panels may be caused by standard nails or wood screws.
Why this is a mistake:
- Nails may back out due to the expansions and contractions of the studs, creating nail pops.
- Pushing the screws too deeply cuts the paper, and this makes the hold weaker.
- Too shallow screws come out of the surfac,e leaving paint bumps.
Life situation: This is important: suppose you complete a room and have painted the walls, and in a month, you realize that small spots are pushing out the paint. That’s an indication that the screws or nails were not fitted in.
How to fix/avoid:
- Use drywall screws, not nails.
- Screw until it is close to the paper, but does not tearthe paper.
- A depth-controlled screw gun is used to ensure consistency.
2. Poor Panel Placement
Drywall panels must not be put just anywhere. Suspending them to give excessive seams, or even to run all the seams vertically, makes the wall weak.
Why this is a mistake:
- Form stress lines that develop cracks.
- Increases seams and increases seaming and mudding.
- Weakens the wall structurally.
Best practice: Stagger panels so that seams do not run in a grid. Just imagine it is like putting bricks in–offsetting strengthens the wall.
3. Gaps and Uneven Cuts
Another large problem is cutting drywall incorrectly. Big spaces in between panels cause you to fill them with big blobs of joint compound that never blend. Seams are also difficult to conceal because of uneven cuts.
Why this is a mistake:
Ridges are seen when painted.
Supplies sanding work later.
Metals’ loose joints, which crack.
Life scenario: an amateur joins boards too small on an outlet, and the panel leaves a half-inch space. Once patched using mud, it remains bumpy and remains bumpy even after painting.
How to avoid:
- Measure carefully.
- Straight cuts are made with a sharp knife.
- Do not leave large holes, but leave small, even gaps (1/8 inch) to allow expansion.
4. Rushing the Joint Compound Process
It is a joint compound (mud) that provides the disappearance of seams. The most common mistakes made by many beginners to drywall joint compound are applying too much at a time, omitting coats, or not allowing the joint compound to dry well.
Why this is a mistake:
- Layers thicken and crack on drying.
- Venereous mud is more difficult to fix and postpones sanding.
- Unpredictable feathers make ridges.
Best practice: Coat using three thin layers, each at least a bit broader, and leave to dry completely before sanding.
5. Over-Sanding or Under-Sanding
One of the most fragile processes in drywall finishing is sanding. Most DIYers do not sand samples or sand too harshly and break the drywall paper.
Why this is a mistake:
- Under-sanding exposes paint with lines and lumps.
- The paper is over-sanded, exposing it to paint, which is absorbed variably and results in blotches.
Tip for beginners:
- Apply with a fine-grit sanding sponge using light pressure.
- Light a work-light over the wall to expose flaws prior to a paint application.
6. Ignoring Moisture Control
The common drywall setup in moisture-prone rooms is an error that mostly results in failure. Bathrooms, basements and kitchens require moisture-resistant selections.
Why this is a mistake:
- Standard drywall takes in water, causing swelling, crumbling and mold.
- Reduces the drywall life in wet climates.
How to avoid:
- Apply green board/ cement board in damp areas.
- Fix adequate ventilation and exhaust fans.
7. Skipping Backing at Joints
In other cases, drywall seams fall in between studs. When you fail to install supporting boards on the back of those seams, you will find the joint bending and ultimately breaking up.
Why this is a mistake:
- Produces the weak points, which relocate with the changes of temperature and humidity.
- Causes new homes to have drywall seam issues as the building settles.
Fix/avoid: Attach scrap wood or metal support in any area where panels come together and are not supported by studs.
8. Hanging Drywall in the Wrong Direction
Novices will install drywall vertically since it does not feel as difficult. But horizontal hanging is more powerful and decreases the seams.
Why this is a mistake:
- Vertical hanging produces additional seams to complete.
- Weakens the wall, as seams run upon the same studs.
How to hang drywall best: They should always be installed horizontally in standard rooms.
9. Forgetting to Check Stud Alignment
Drywall is bulged or bowed by uneven studs. The installation of drywall without first verifying its alignment will never give the impression that you have a straight wall.
Why this is a mistake:
- Causes screws to miss studs.
- Produces wavy walls, which can be seen following the painting.
Tips When Hanging: it is advisable to have a straight edge run over studs prior and even out any uneven areas by shimming or planing.
10. Skipping Primer Before Painting
Some individuals who paint drywall proceed directly to paint. One of the largest drywall finishing errors to the beginner is not using primer.
Why this is a mistake:
- Paint does not soak into drywall and joint compound.
- Stitches and patches remain exposed.
Best practice: A good primer should be used at all times to create a smooth and even layer of paint.
Benefits of Avoiding Drywall Mistakes
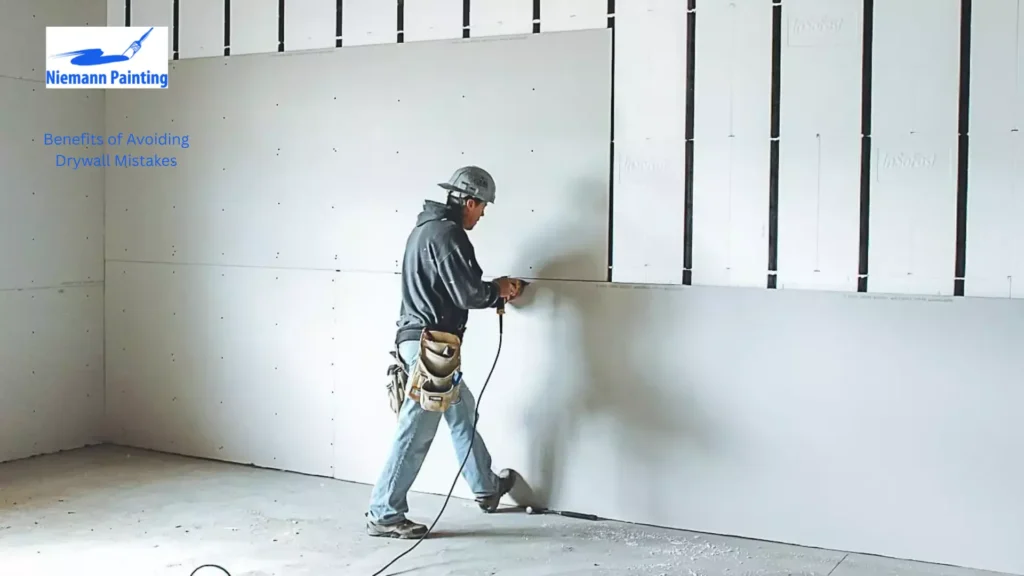
And the long-term advantages of avoiding these errors in your house are:
- Wall smooth, professional-appearing.
- Reduced maintenance and lower time-based wall repairs.
- Durable and solid drywall construction.
- Nicer paint or wallpaper job.
- Quality workmanship attracts a higher resale value.
Tips for Successful Drywall Installation
To get drywall that looks good and lasts, use these ideas:
- Preplan: Measure twice, cut/hang the panel.
- Make sure you use the right tools: Drywall screw gun, T-square, and utility knife really count.
- Manage moisture: Select the appropriate type of drywall used in each room.
- In layers: Applied in very thin layers, the work should be completely dry before applying the next layer.
- Don’t hurry: Sand, finish, and prime.
These drywall hanging and finishing best practices guide you to prevent the future troubles that are revealed later.
FAQs
The top mistakes are the use of incorrect screws, hurried work on the mud, and poor sanding.
They burst when pushed too far, when studs are moved or when they use nails instead of screws.
Horizontal hanging is more powerful, and there are fewer seams.
Yes, however, be gradual, practice best practice, and applythe correct tools.
Yes, primer closes the surface and assists the paint to go on evenly.
Conclusion
Installation of drywall can be viewed as an easy task, and one misstep can result in crooked walls, visible lines, or long-term issues. Through knowing what mistakes not to make, such as over-sanding, using incorrect screws, or rushing the finishing, you can achieve a professional look of the walls.
It doesn’t matter whether you are doing it yourself or you have hired someone to do it; by observing the best practices in drywall hanging and finishing, your walls will remain beautiful and strong over the years.
To further extend, visit Neimann Painting.
