When entering the house, you often do not pay much attention to smooth and cleaning walls, but they contribute tremendously to the attractiveness of every room. A paint job is not only quality in terms of color; it is also quality in terms of the finish of the drywall underneath.
Drywall finishing levels are confusing to homeowners. However, as soon as you learn what each of these levels estimates, you will know perfectly well what you should expect of your contractor, how much it can cost, and what finish would be appropriate in each room of your house.
Why Drywall Finishing Levels Matter
Drywall finishing grade is an industry standard that demonstrates the smoothness or ornamentation of your walls. They facilitate the establishment of clear expectations between the contractors and the homeowners, therefore, having no surprises upon completion of the job.
The appropriate level differs in:
- Looks– The walls are smooth, giving an elegant, professional effect.
- Cost-The higher the levels are needed, the more labor and materials are needed.
- Durability -Good finishing will avoid cracks, dents, and unevenness in the paint.
What Drywall Finishing Levels Mean for Homes
Each level has its purpose. Imagine them as the stages between what is not perfect and hard, and what is perfect and smooth. Understanding the position of each level can save you cash and help you make more intelligent decisions as part of your plan.
Drywall Finishing Levels Explained in Detail
So here is the full guide to the levels of drywall finishing with examples, advantages and disadvantages, and the places where each of the levels is found in practice.
Level 0 – Bare Drywall
What it is: It has sheets fitted, though not taped, mudded, or finished.
Location of use: Temporary structures, storage space or incomplete basements.
Advantages: cheapest, quickest installation.
Cons: It cannot be painted or textured without any additional finishing.
Examples: You leave a wall in the garage unfinished, and you are concentrating on other areas of your home.
Level 1 – Basic Tape and Mud
What it is: One coat of mud is put over joints and corners, taped. Tool marks and ridges can be seen.
Where it goes: Concealed locations such as the attic or wall chases where piping is run.
Advantages: Gives simple protection against fire rating demands.
Cons: Not to be used in visible places.
Example: A garage attic where no one is concerned about appearance, yet there is a fire code requirement that the area be taped.
Level 2 – Light Coverage
What it is: a joint compound has a thin second layer and is embedded with tape. Screw small holes are filled once.
Where it is applied: Garages, workshops, or places where they are to be tiled.
Advantages: cheap and fast, most of the seams are concealed by tiles or paneling.
Disadvantage: Paint will show imperfections, not smooth enough to live with.
Remark: The wall behind an imaginary shower in a bathroom that will be covered with tiles.
Level 3 – Ready for Texture
What it is: Tape is painted with a coating of mud twice,and screw holes are filled twice. The surface appears smooth yet bears the tool marks with light.
Where used: Rooms into which the walls will be textured or wallpapered.
Pros: Excellent foundation of knockdown or orange peel texture.
Cons: Do not use smooth paint applications- imperfections will be visible.
Example: A family room that has an orange peel texture to give the room a warm feel.
Level 4 – Smooth and Paint-Ready
What it is: Three layers of mud on seams, holes in screws filled up several times, sanded down. When it is viewed directly, minor imperfections can still be there.
Where used: In most living rooms that have flat or satin paint.
Advantages: Residential home standard, nice compromise of price and look.
Cons: Glossy paint will show up blemishes.
Example: The bedrooms, living rooms, and halls in the majority of new houses.
Level 5 – Perfect Smooth Wall Finish
What it entails: Covers all of Level 4, but a skim coat is smeared on the whole surface, creating a perfect, smooth finish.
Where used: In high-end homes, modern designs, or on walls that have natural light.
Advantages: Ideal depth on glossy paint, dark colors, or designer paints.
Cons: The most expensive and time-consuming.
Case in point: A living room with an open concept and floor to floor-to-ceiling windows, and smooth, modern paint.
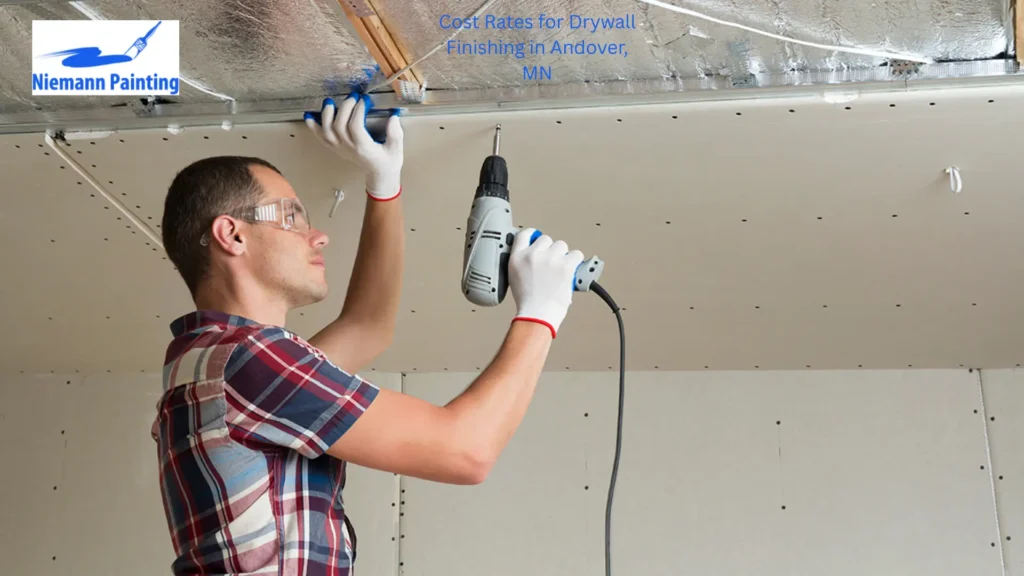
Cost Rates for Drywall Finishing in Andover, MN

When you have plans to finish drywall in Andover, MN, knowing what the local rates would be is helpful. The prices here are near those of the national average, with a small increment of labor and material charges in the Twin Cities metro area.
Drywall finishing costs on average, between $1.50 and 3.90 per square foot, depending upon the amount of finish you want.
This is a summary of what will be offered to the homeowners in Andover:
| Finish Level | Estimated Cost (per sq. ft.) | Best For |
| Level 0 | $1.00 – $2.10 | Unfinished or storage spaces |
| Level 1 | $1.25 – $2.40 | Attics, utility rooms |
| Level 2 | $1.40 – $2.85 | Garages, walls to be tiled |
| Level 3 | $1.60 – $3.10 | Textured finishes |
| Level 4 | $1.80 – $3.60 | Standard living spaces with flat paint |
| Level 5 | $1.90 – $3.90 | High-end finishes, glossy paint, showcase rooms |
Example Calculation
To be able to work on a 200 sq. ft. bedroom on Level 4:
- Lower end: 200 × $1.80 = $360
- Higher end: 200 × $3.60 = $720
This gives you a realistic ballpark before talking to contractors.
Tip: You do not need to use the same level everywhere in order to save money. A large percentage of homeowners use Level 5 in the main living areas and Level 3 or 4 in bedrooms and less-frequented places.
Best Drywall Finish for Painting Homes
- Flat Paint → Level 4 works best.
- Glossy or Semi-Gloss Paint → Gloss Paint Level 5 will be needed to apply a perfect surface.
- Textured Paint → Level 3 is normally sufficient.
Level 5 is reasonable because, in the case of a modern design with smooth walls, it is worth the price. However, in case you would prefer some texture or cozy finishing, Level 3 or 4 will be more prudent.
Professional Drywall Finishing Tips for Homeowners
The following are some professional drywall finishing tips:
- Never exceed the level of finish for the purpose of the room.
- Before painting, check the walls in natural light- any defects present are more evident.
- Take into account texture in case you have a limited budget – it conceals flaws.
- Use Level 5 in showcase rooms, such as entryways or living areas.
- Talk to your contractor about the drywall texture finish standards that the contractor should use to avoid misunderstanding.
FAQs
Level 4 is ideal with flat paint, whereas Level 5 is required with glossy finishes.
Smooth finish is more stylish and expensive, whereas textured walls are less tolerant and cheaper.
No, not so much on modern houses, shiny paint, and plenty of natural light.
Level 5 is typically more expensive by half a dollar to a dollar per square foot because of additional labor.
Unless you are putting texture on it. Level 4 or 5 is required to give a smooth paint.
They do not necessarily, but they do give a common language between contractors and homeowners.
Rudimentary fixes can be utilized, whereas bigger projects should be finished by professionals.
Conclusion
Drywall finishing levels are not only technical terms, but they also determine the ultimate appearance and feel of your house. Each level is functional, so there are roughly finished garages, smooth, contemporary living rooms. With the knowledge of these levels, you are able to compromise cost, design, and practicality.
When deciding on a remodel or a paint job, keep in mind: save money by using lower levels in the hidden areas, but invest in high levels where your walls will shine.
To explore more, visit Neimann Painting.

